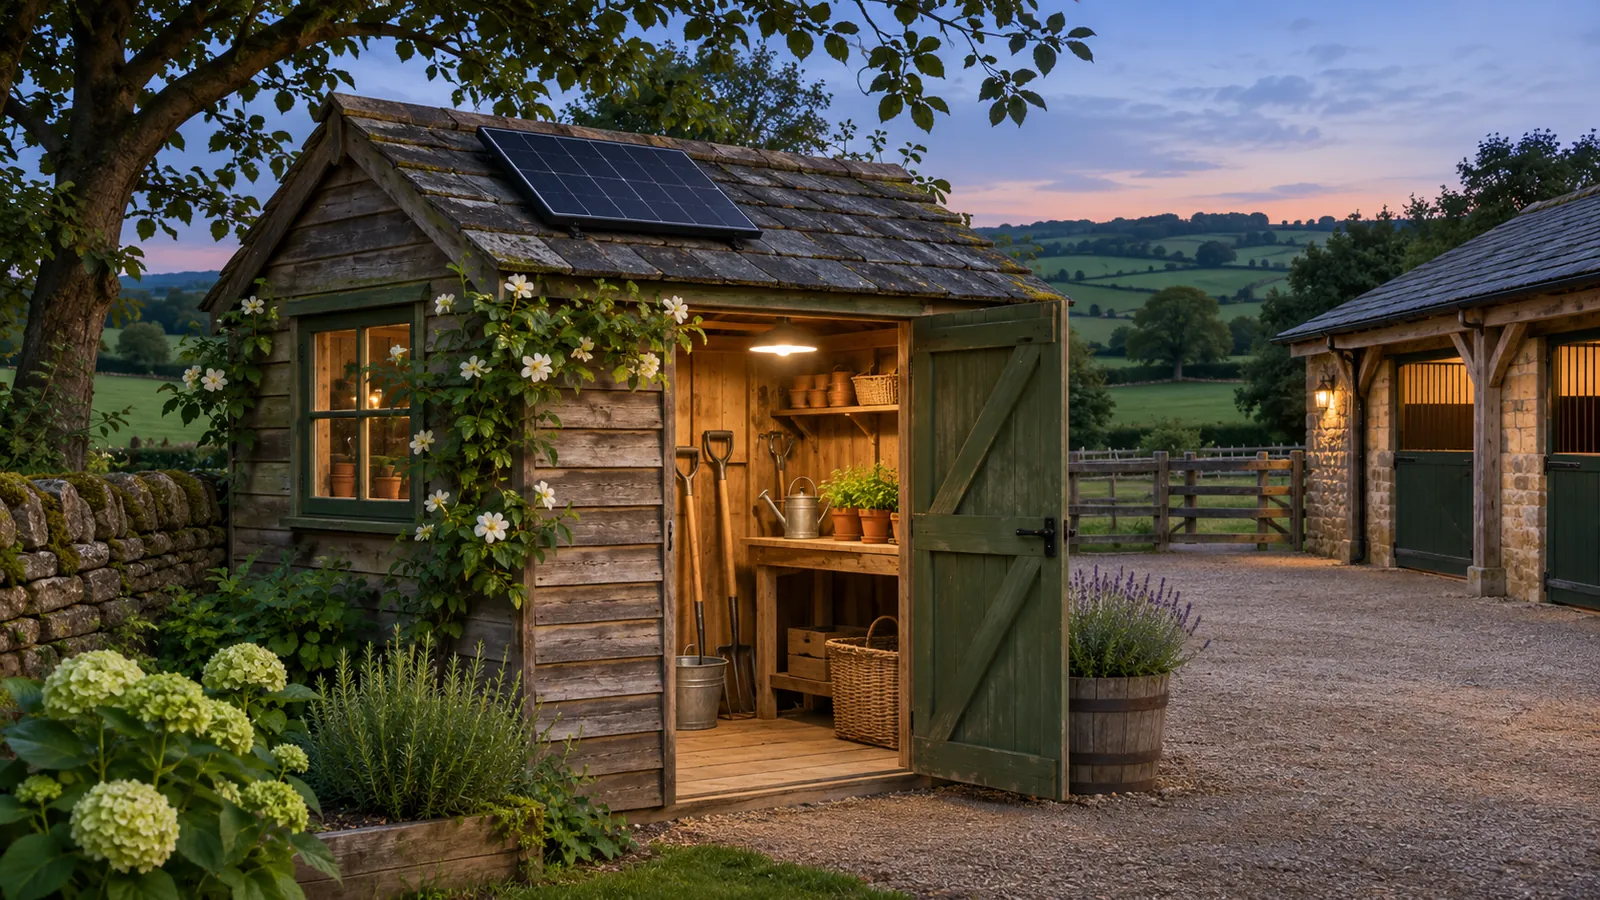
A dedicated solar lighting kit gives you a way to light a shed, stable or other outbuilding without a mains lighting circuit. Whether you want to find tools after dark or light several stalls, start with the spaces you use and how long you need the lamps on.
Our solar lighting systems bring the panel, battery and specified lights together in a package. This guide helps you choose a layout, compare two kit sizes and plan where each part will go.
Put light where you need it
Sketch the door, workbench, storage areas and any separate rooms or stalls. Mark the places you want to illuminate, then decide which lamps need to run together. Four lights can serve several positions; use the lamp specifications to assess brightness for the task at each one.
Measure cable routes along walls and around doorways. Match those measurements to the supplied lengths, connector type and permitted extensions. The lighting cable range is useful when the control unit and lamps need to sit further apart.
Position cables and equipment clear of animals, stored tools and areas where they could be damaged. Follow the installation instructions for the battery and control unit: an outdoor panel does not mean every component is weatherproof.
Compare the 15W and 25W packages
The SL-25W lighting package includes a 25W panel, four 5W LED lights and a control unit with a battery, cables, connectors and switches. The smaller 15W package lists four 3W LED lights. Compare the lamps, battery and panel together to find the package that suits your lighting pattern.
| Your plan | What to compare |
|---|---|
| One light for short visits | Switching options and the manufacturer's single-light runtime guidance |
| Several areas lit together | Combined lamp demand and runtime in that operating mode |
| Lamps spread around the building | Supplied cable lengths and supported extensions |
| Daily evening use | Battery capacity, charging guidance and available sunlight |
| Equipment in a stable or shed | Permitted locations for the battery and control unit |
Plan charging around the seasons
Give the panel a position with good access to daylight, accounting for trees, nearby buildings and roof shade. If you use the building every evening, plan for the shorter winter days when charging time falls and lighting hours increase.
Use the manufacturer's runtime figures for the number of lamps you intend to run. Note the starting battery charge and whether the example includes recharging during use. These details turn a headline runtime into a more useful comparison; panel wattage alone cannot guarantee the same lighting hours in every season.
Add appliance power if your project needs it
A dedicated lighting kit is designed for its specified lights. For tools, a computer or other AC equipment, compare a suitable portable power station or complete off-grid system. List the appliances and their running time, then match both output power and battery capacity to the job.
Build your lighting shortlist
With your layout and cable measurements ready, compare the package contents and supported accessories together. If you need help choosing, send us the kit's SKU and your proposed lamp positions or measurements. Include your delivery destination so any product-specific delivery requirements can be confirmed before ordering.
Shop solar lighting for your outbuilding
Explore our solar lighting systems, including the 25W kit with four LED lights. Compare the supplied lamp and cable specifications with your layout, and browse compatible lighting cables if you need to reach further.